National Pest Management Month: Recognizing the Quiet Heroes of Pest Control
National Pest Management Month is a chance to recognize the work pest control professionals...

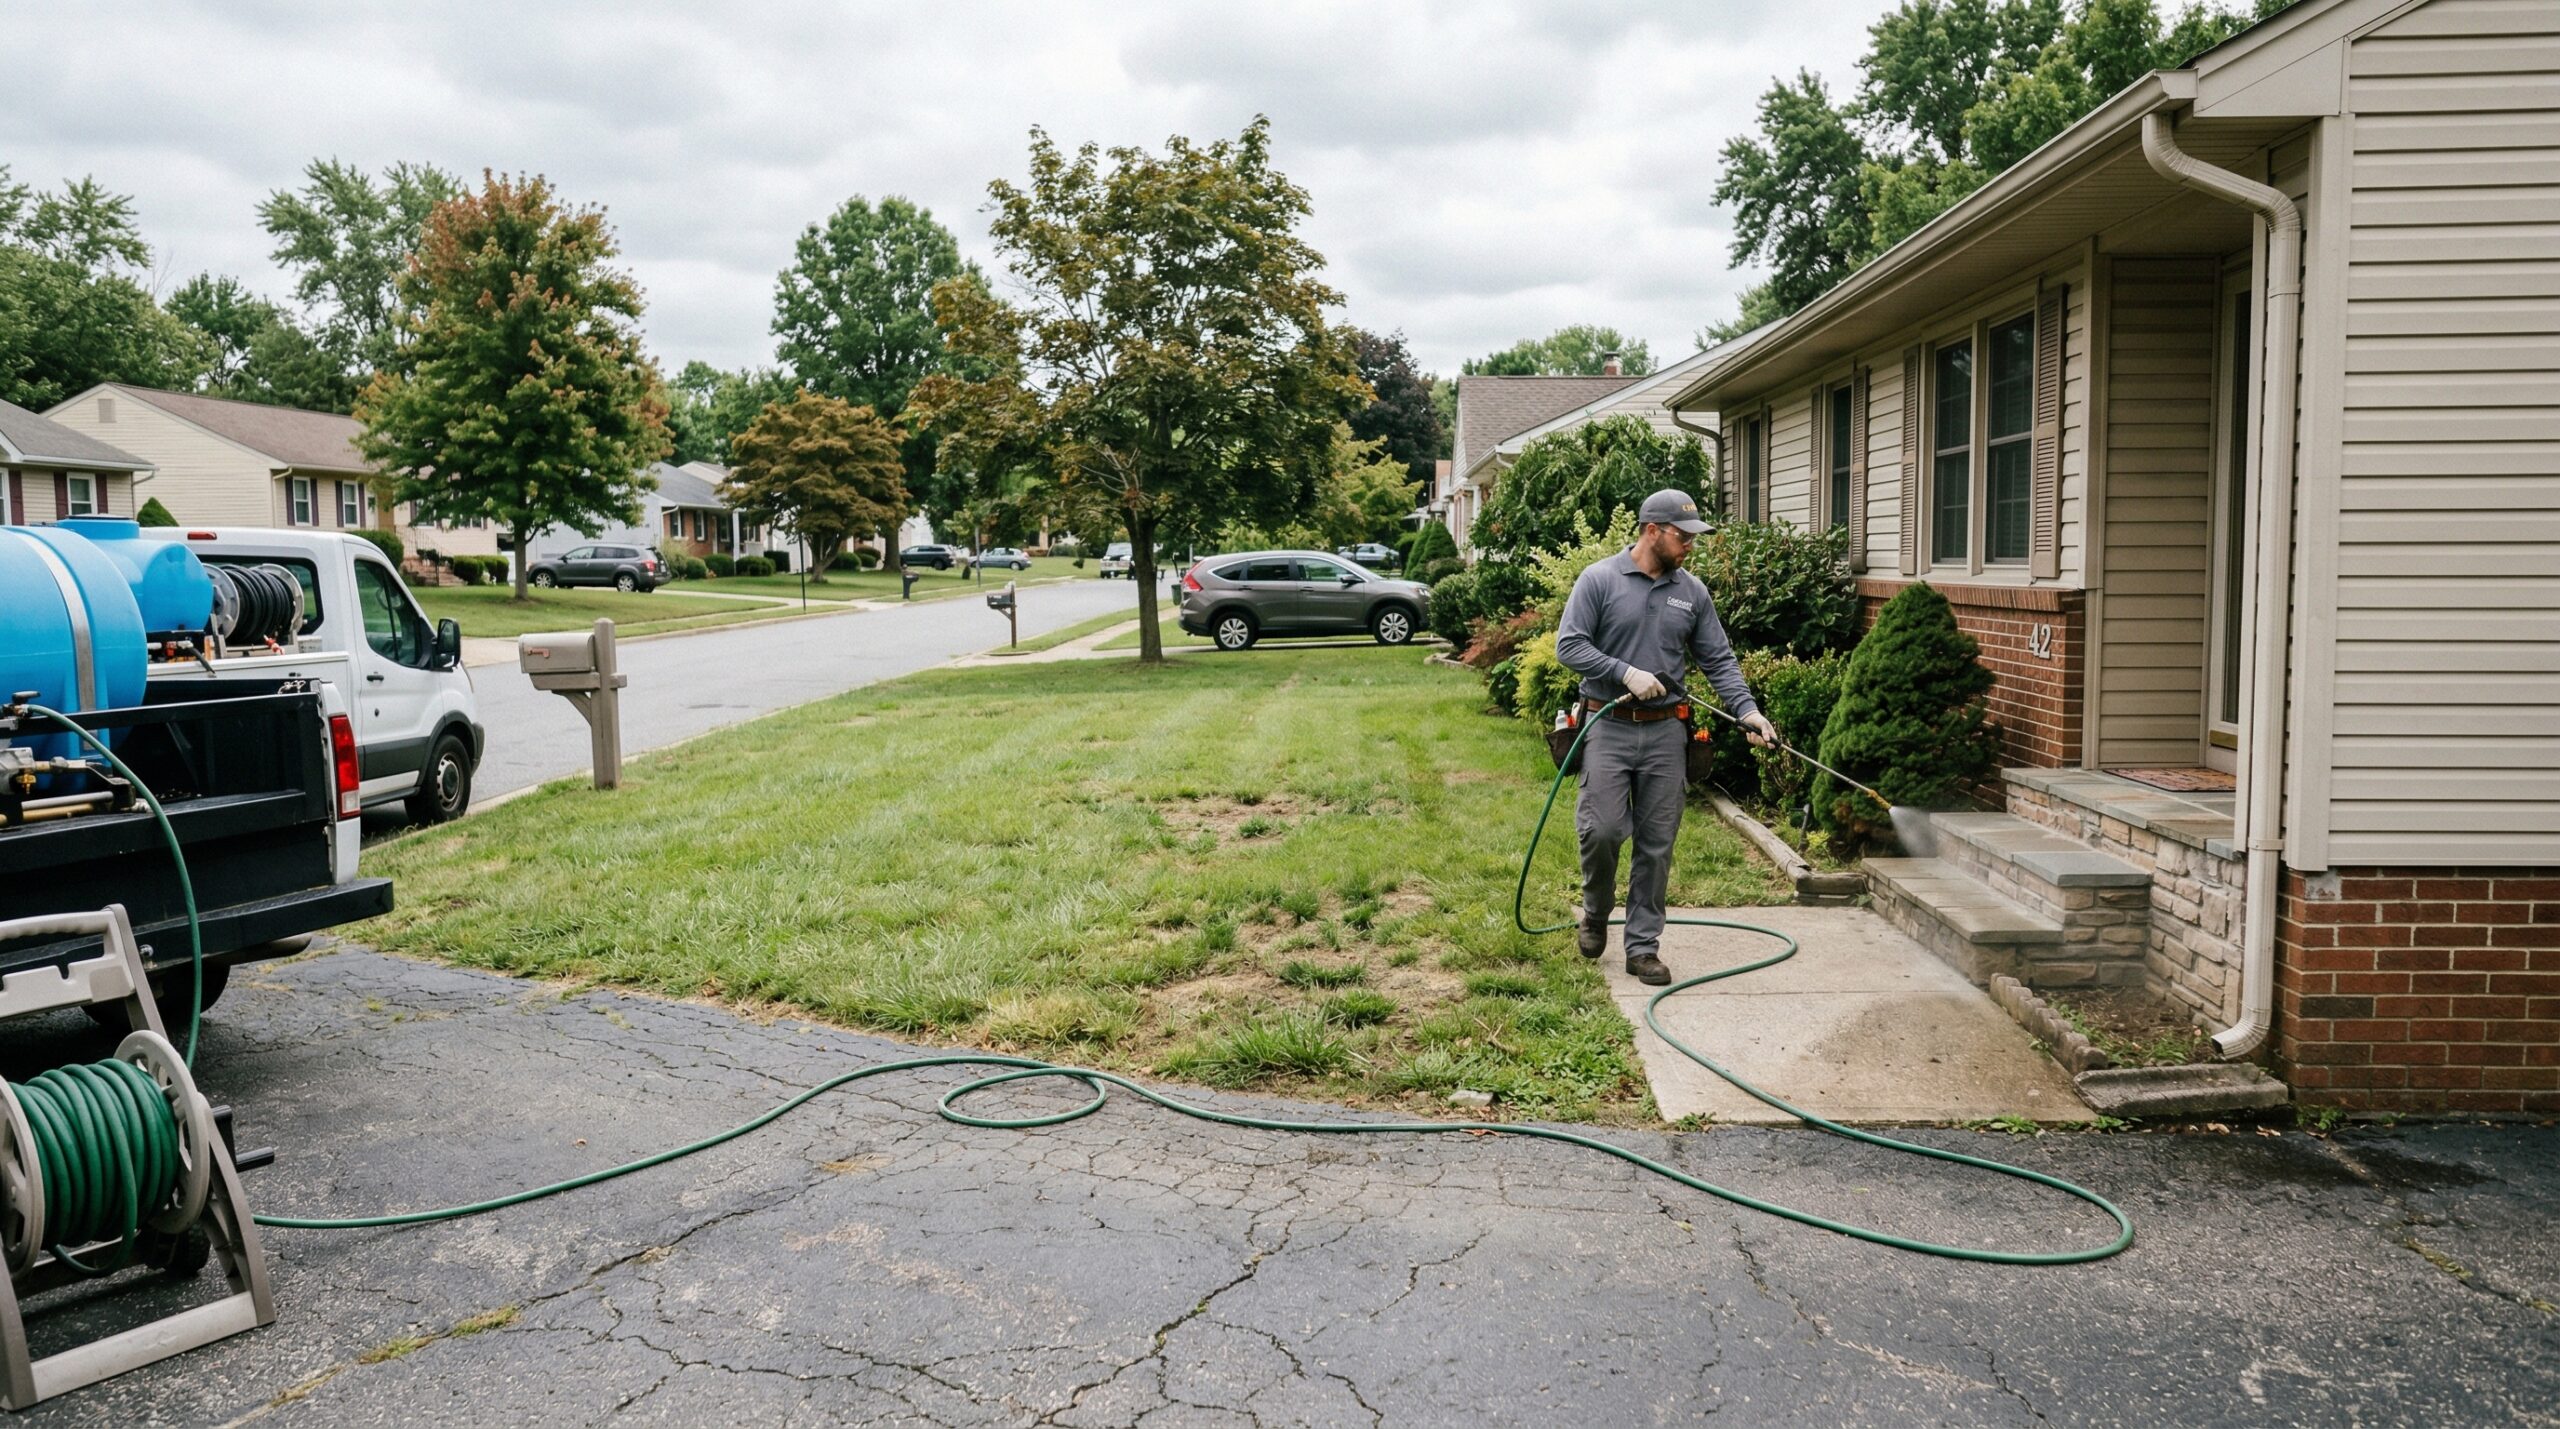
As a pest control professional, your job goes beyond getting rid of pests. You’re protecting homes and businesses while keeping a careful balance with the environment.
Scientists estimate there are about 1.4 billion insects for every person on Earth. Most are vital to our ecosystem, but when they invade our homes, the damage can be serious. Termites alone cause more than $5 billion in property damage each year in the United States.
The industry itself is booming. With over 32,000 pest control businesses in the US and the market expected to reach $42.5 billion by 2032, competition is fierce.
So, how can your company stand out?
A clear, professional pest control inspection report is a powerful tool that sets you apart from the competition. A well-crafted report builds client trust and ensures legal compliance. When you write it right, it sets you up for repeat business.
One of the most effective tools you have is a clear, professional inspection report. Done well, a report builds client trust, proves compliance, and makes it easy for customers to choose you again.
This guide walks you through how to create an inspection report step by step. Plus, we’ve included a free downloadable template you can use to get started right away!
Compliance isn’t only about ticking off boxes on a pest control inspection checklist. Before you even grab your flashlight, it’s important to know the rules.
Pest control is one of the most regulated industries, and your inspection reports need to reflect that. That means you must follow local, state, and federal laws. Regulations cover everything from which chemicals you can use to what information you include in your reports.
At the federal level, for example, the Environmental Protection Agency (EPA) oversees pesticide use. There’s also the Federal Insecticide, Fungicide, and Rodenticide Act (FIFRA), which sets strict guidelines for how chemicals can be applied and documented.
At the state level, the rules can vary a lot. For example:
Many states also require you to include specific disclaimers or details about the products you use. Skip these details, and you could face fines—or worse, put your clients at risk.
On top of legal requirements, the National Pest Management Association (NPMA) sets the gold standard for everything from pest inspection guidelines to proper treatments. Following NPMA guidelines ensures your reports are thorough, consistent, and professional.
Compliance isn’t just about avoiding penalties, though. It shows clients that you take safety and professionalism seriously. And that will help you stand out in a crowded market.
RELATED ARTICLE: The Best Techniques for Pest Control [2025 Guide]
A great inspection starts before you even step onto the property. With the right prep, you’ll save time, avoid mistakes, and show your client you’re thorough.
Gather the Right Tools
Don’t rely on just your eyes. The right tools help you spot pests and document your findings with confidence. Every pro should have:
Consistency is key. Standardized forms or digital tools make sure nothing slips through the cracks. Software like Briostack lets you enter notes on-site, snap photos, and generate polished reports instantly. For extra backup, keep a paper checklist handy.
Before heading out, check the client’s past treatments or reported concerns. Knowing the background helps you focus your inspection on problem areas and shows the client you’ve done your homework.
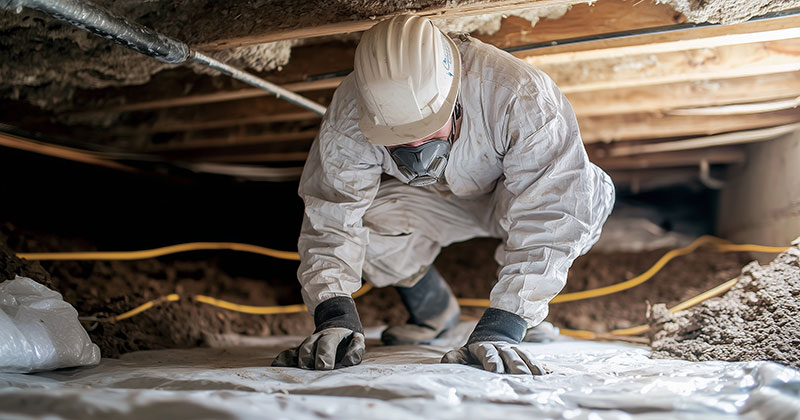
A detailed inspection is the backbone of a strong pest report. Take a systematic approach to ensure that nothing gets overlooked
Pests usually make their way inside from the outside, so start there. Look for weak spots that give them easy access:
Next, move inside. Think like a pest. Where would you go for food, water, and shelter? Focus on key areas where pests hide or find food.
Your report should clearly note which pests are present or not present. Always document signs of activity and any conditions that could invite future infestations, such as moisture or clutter.
By covering both the outside and inside, and documenting the telltale signs of each pest, you’ll ensure nothing gets missed and your report is both thorough and credible.

Once your inspection is complete, it’s time to put your findings into a clear, professional report. A well-structured report makes it easy for both you and your client to understand the situation and next steps.
Your report should include:
Keep the language simple and factual. For example, instead of writing “bad ant problem,” note “ant activity observed in kitchen with trails along baseboards.” This clarity helps clients understand the issue without confusion or jargon.
When your reports are consistent and professional, they not only meet compliance standards but also build trust with your clients, setting the stage for long-term relationships.
Words matter, but photos seal the deal. Clear visuals make your report more credible and easier for clients to understand. Think of it like detective work—you’re showing the evidence, not just describing it.
Here are a few fundamentals to keep in mind when taking photos for your pest control inspection report:
Diagrams can highlight pest “hotspots” or risk areas at a glance. Annotated floor plans are especially helpful for larger properties, showing exactly where problems exist and where treatments are recommended.
If you’re using software like Briostack, you can embed photos and diagrams directly into digital reports. These can be saved in the cloud, emailed, or shared through a client portal, making them easily accessible at any time.
For print reports, embed visuals directly into the document so clients have a full picture of your findings.
Adding photos and diagrams doesn’t just improve clarity. It also builds trust. When clients can see the damage or the pests themselves, they’re more likely to take your recommendations seriously.
Your inspection report shouldn’t stop at describing the problem—it needs to guide your client toward the solution. Clear, actionable recommendations show professionalism and make it easy for customers to move forward with your services.
Here are some tips for writing strong recommendations in your report:
By turning problems into step-by-step solutions, your report becomes more than a record—it becomes a roadmap. And when clients can see exactly what needs to be done and when, they’re far more likely to take action and trust you to handle it.
RELATED ARTICLE: How to Write a Pest Control Contract [Template]
Writing reports by hand takes time and leaves room for mistakes. Digital tools make the process faster, cleaner, and more professional, helping you focus on service, not paperwork.
Running a pest control business means juggling a lot of details at the same time. Digital reporting cuts down on administration. Innovative software can standardize reports, such as safety data sheets or pesticide logs.
Here are some additional benefits of using pest control software to consider:
With so many moving parts in pest control, the right software can take reporting from a chore to a competitive advantage. The tools below help streamline your workflow, keep reports accurate, and free up more time to serve customers.
Using software like Briostack doesn’t just save time—it makes your reports consistent, compliant, and professional. It also shows clients you run a modern business they can rely on.
RELATED ARTICLE: The Quick Guide to Pest Control Invoices [Template]
Getting started doesn’t have to be difficult. To save you time, we’ve created a free pest control inspection report template that you can download and customize for your business!
The template includes space for client details, inspection notes, findings, and recommendations—everything you need to create a professional, compliant report. Just add your company info, fill in the specifics of the inspection, and you’re ready to go.
Download the Pest Control Inspection Report Template (doc) | PDF
Use this as your foundation, and with tools like Briostack, you can take reporting even further by standardizing processes and delivering polished reports instantly.

Finishing your pest control inspection report is only half the job. How you deliver it—and what you do afterward—can make the biggest impression on your client.
A polished report deserves a professional delivery. Choose the method that works best for your client:
When you present the report, keep your language clear and simple. Avoid jargon and explain what the findings mean in practical terms.
This is also your opportunity to alleviate concerns, particularly if clients are worried about children, pets, or chemical safety.
Never end an inspection without a clear plan.
Whether it’s scheduling a treatment, booking a follow-up visit, or providing prevention tips, set the next step before you leave. This shows you’re committed to solving their pest problem for good.
Professional delivery and strong follow-up not only reassure clients but also increase the chances of turning one-time jobs into long-term relationships.
RELATED ARTICLE: 5 Reasons You Should Offer Free Termite Inspections
Even experienced pros slip up when writing reports. Avoiding these common mistakes will help you look more professional and win client trust:
By steering clear of these pitfalls, your reports will be more professional, easier to understand, and more effective at turning inspections into long-term business.
Your reports are more than paperwork—they’re a reflection of your business. A polished, professional pest control inspection report shows clients you’re thorough, trustworthy, and ready to handle their pest problems.
Here are a few quick steps to level up your reporting process today:
RELATED ARTICLE: The Latest Pest Control Technology Trends and Innovations
National Pest Management Month is a chance to recognize the work pest control professionals...

Summary Pest control email marketing delivers results. It helps reduce no-shows, increase renewals, and...

Discover the best pest control sprayers for professional use in 2025. Compare top models,...